
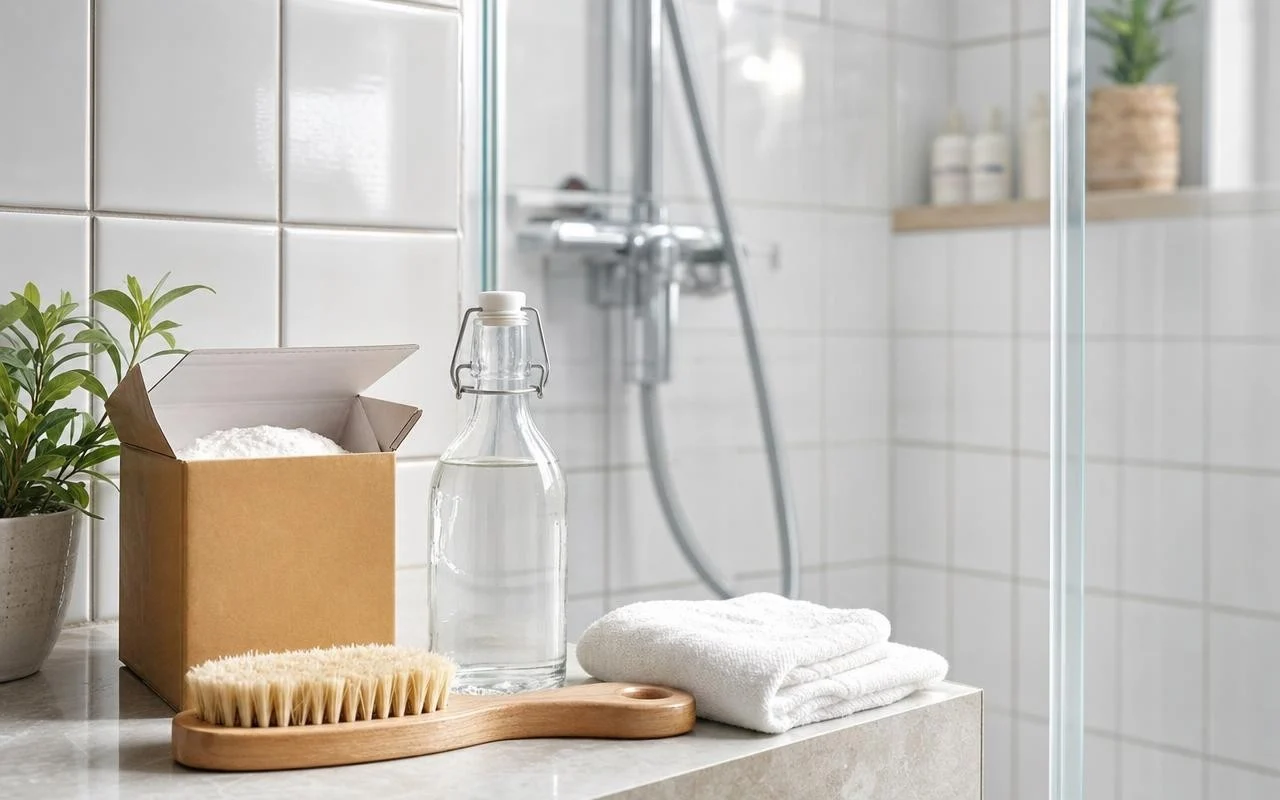
In many spotless bathrooms, one detail spoils the whole look: those dark lines between the tiles that seem to get darker a little more each week. The so-called “grout” products pile up, the smell of bleach lingers, yet the outcome is often disappointing. Meanwhile, tilers themselves employ a simple gesture and a kitchen-made mixture to restore grout that looks almost new.
This darkening isn’t an inevitability tied to the age of the shower. It primarily reveals a cocktail of stagnant humidity, soap residues, and sometimes scale, in which mold thrives. Tile professionals talk about a miniature biotope dominated by the fungus Cladosporium. And it is precisely against this that they reserve their famous homemade blend.
Why do blackened shower joints appear so quickly
Shower joints, whether cement-based or silicone, remain slightly porous. Hot water seeps in, loaded with soap, shampoo, and dead skin cells. If the bathroom lacks proper ventilation, this moisture doesn’t evaporate away and leaves behind a damp film ideal for micro-organisms. The areas most affected are almost always the corners and the bottom parts of the walls.
Another factor that speeds up the black shower joints: the habit of closing the door immediately after use, sometimes with an ineffective exhaust system. The steam stays trapped, condenses into the slightest irregularities, and maintains the humidity. Add a bit of limescale, which roughens the surfaces, and the fungi cling on more tenaciously. This is where the tilers’ famous mixture really changes the game.
The tilers’ baking-soda-and-vinegar mixture, explained step by step
What many homeowners don’t realize is that professionals rely on a simple duo: baking soda and white vinegar. In a bowl, mix about three tablespoons of baking soda with one tablespoon of white vinegar. The mixture foams and forms a semi-thick paste; add a few drops of warm water if needed to spread it easily over the joints using an old toothbrush.
Spread the paste over the darkened areas, scrub, paying particular attention to the corners, then let it sit. For light stains, a dwell time of 5 to 10 minutes is often enough. For pronounced darkening, aim for 20 to 30 minutes; and for very old, very dark joints, DIY guides recommend up to 60 minutes, checking the joint’s condition regularly. In any case, finish with a generous rinse followed by thorough drying with a microfiber cloth. Simply avoid applying this treatment with hydrogen peroxide or bleach without rinsing afterward, to avoid creating irritating mixtures.
The 30-second ritual that stops joints from turning black again
Once the joints have been restored, the real difference comes from daily habits. After every shower, quickly rinse the walls and along the joints, run a silicone squeegee to remove the water, then dry the corners and the lower parts of the walls with a towel. Then leave the window slightly ajar for about ten minutes, or run the exhaust to completely vent the vapeur that feeds the mold.
Some habits undermine this discreet upkeep: using bleach too often, scrubbing with metal pads, or waiting until the joints are completely black before acting. Over time, the silicone can crack, the cement joint can crumble, and water can seep behind the tiles. If you notice cracks, pieces peeling, or blackening returning very quickly, it’s time to redo the joint entirely.
Sources
- Mon Jardin Ma Maison
“No more weeds on the terrace: this cupboard mix and this forgotten move drain the joints for good”
