
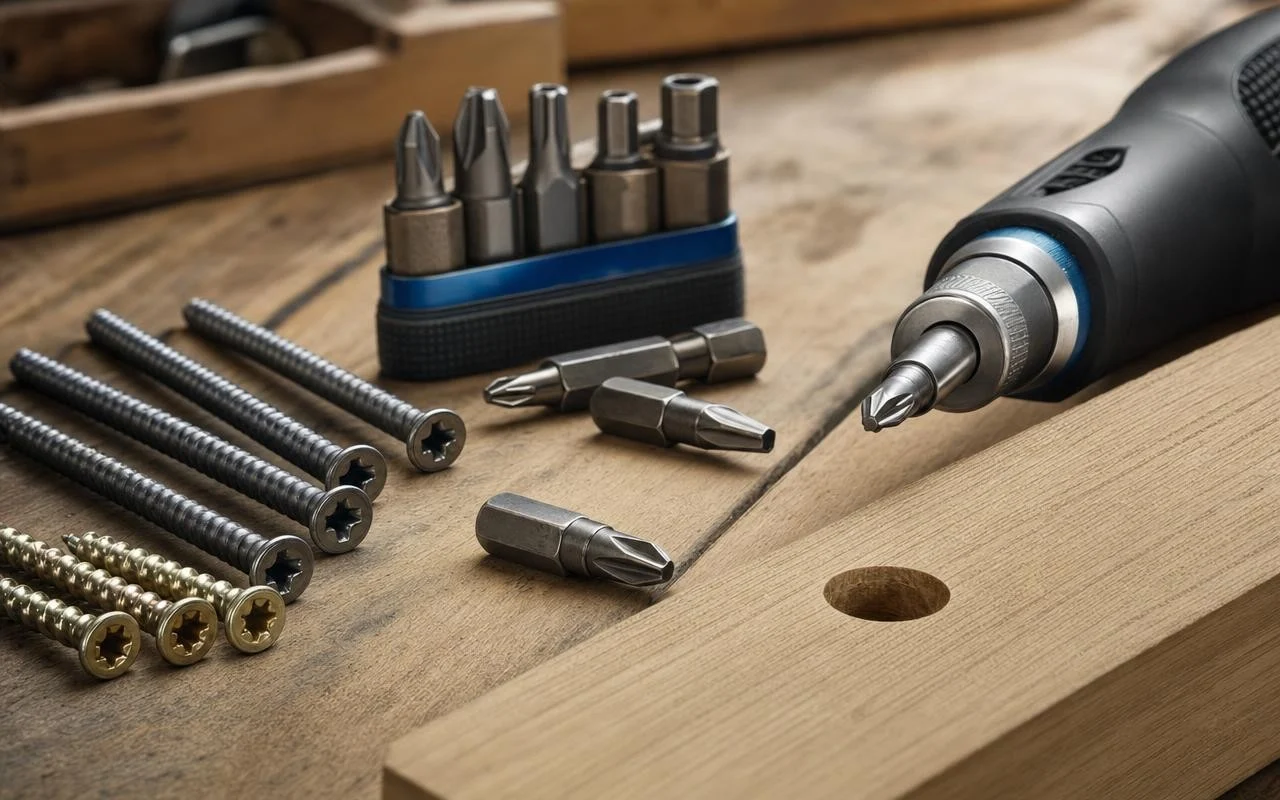
A screw spinning in midair, a head turning into a smooth circle, and a screwdriver slipping at every attempt: the scene speaks to every DIYer. The reflex is almost always the same: press harder, grab a tool that is “about” the right size, and force it until it gives. It is precisely this haste that turns a merely seized screw into a true stripped screw.
Woodworkers, for their part, never rush a stubborn screw. Before even contemplating extraction, they follow a small, very precise ritual that unfolds in a few quick moves. Thirty seconds of preparation that often make the difference between a clean unscrewing and a ruined screw head.
Stripped Screw: What Woodworkers Look at Before Turning
An screw head pattern, whether cruciform, flat, or Torx, is designed for a specific type of bit. As soon as the screwdriver is a little too small, too large, or worn, it no longer sits properly in the grooves. Instead of transmitting the rotational force, the tool slips and tears away material, enlarging the pattern until it becomes almost circular. This problem appears even faster with soft steel screws, very common in inexpensive furniture.
Before applying the tool, professionals inspect the screw head. They determine whether the pattern is merely coated with paint, rust, or wood dust, or if it is already rounded. They also check whether the head protrudes enough to be gripped later with pliers. This diagnostic moment prevents turning a slightly seized screw into one that is nearly impossible to unscrew.
Cleaning and Bit Choice: The Quick Preparation for a Seized Screw
The first systematic move among woodworkers: clean the head/slot. A small wire brush removes rust and dust, while a toothpick or the tip of a knife frees the paint remnants lodged in the corners. The goal is simple: allow the bit to descend to the bottom without any obstacle. The cleaner the head, the less play there is and the more the turning force is transmitted correctly.
Next comes the choice of tool. For a cruciform screw, they precisely test sizes PZ1, PZ2, or PZ3, rather than grabbing the first screwdriver at hand. A good rule of thumb is to verify that the perfectly suited bit fits into the head without wobble and reaches the bottom of the groove. A worn or approximate bit tears material away rather than gripping it. Replacing an old screwdriver with a well-maintained bit saves many damaged screw heads.
Axial Pressure, Mallet and Penetrating Oil: The Moves Before Extraction
Once the groove is clean and the right bit chosen, woodworkers focus on axial pressure. They press firmly along the screw axis, as if they wanted to push it in slightly, while beginning to turn gradually. This pressure keeps the bit firmly seated in the groove and minimizes slippage at the moment resistance is felt. Many DIYers think mainly about turning; professionals think first about applying pressure.
For a screw well stuck by rust or aging wood, some give a light tap on the handle of the screwdriver before turning. That tiny shock helps to loosen internal adhesions. If the screw still resists, they apply a small amount of penetrating oil around the head and let it work for a few minutes, then resume the maneuver with a clean groove, the exact bit, and sustained axial pressure. It is only after these steps that they bring out locking pliers, the reverse-threaded screw extractor, or consider drilling off the head as a backup solution—and never as a first reflex.
