
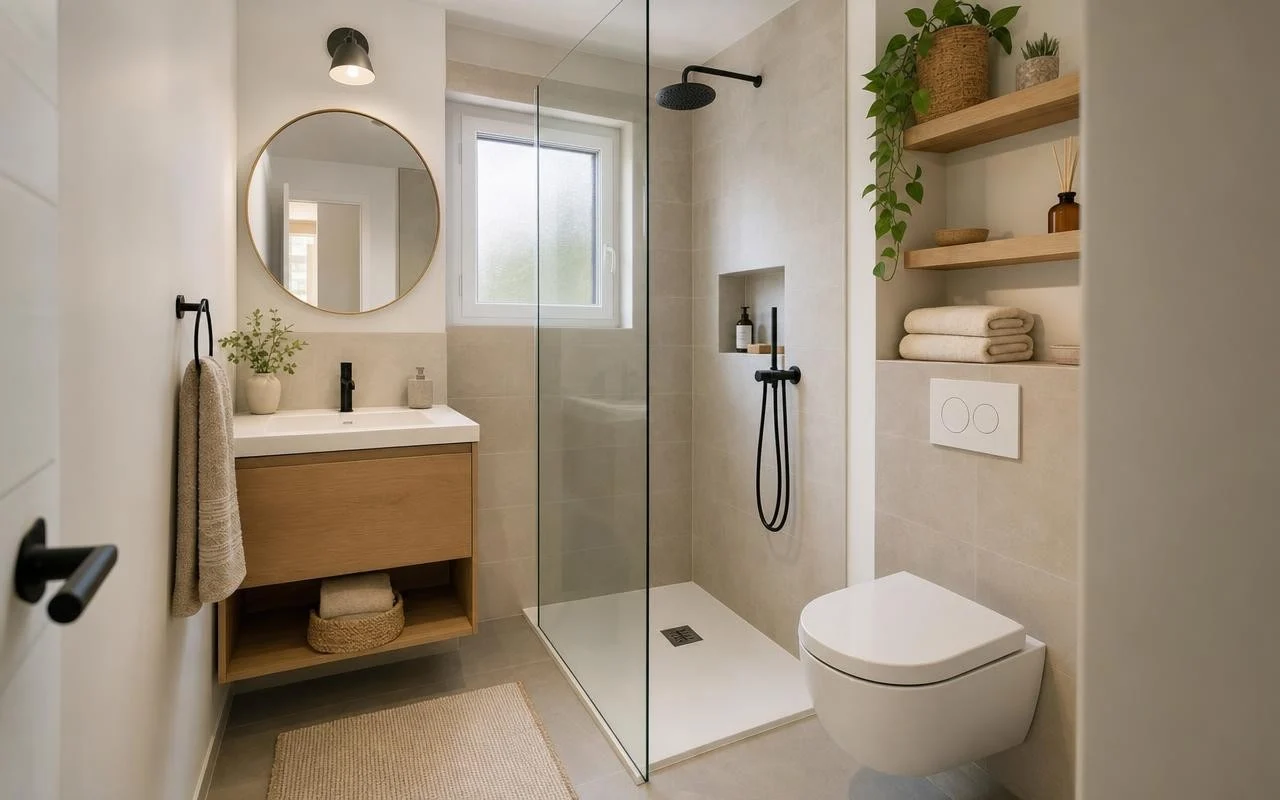
They went to great lengths to avoid it. In their 1950s-era small house, this tiny bathroom felt like it slammed into the wall with every pass. Too cramped, poorly laid out, it functioned more as a passageway than a place you’d actually want to linger.
That’s where designer Lauren Saab enters, the owner of the space, determined to transform this problematic area. Her goal: a space-saving small bathroom renovation that truly changes daily life, without pushing the walls or breaking the bank.
Before the renovation: a small bathroom that people avoided
Lauren Saab sums up the starting point very well: “In a small home, you feel the inefficiencies of every single square meter,” she explains. In this bathroom, the inefficiency focused on one element, but its size was huge: the vanity unit. “The bathroom was one of the smallest rooms in the house, but the vanity made it look even narrower,” Lauren Saab recalls.
The vanity protruded so far into the room that it nearly brushed the door swing. “It pushed into this tight volume so much that it almost hit the door opening. To enter, you had to squeeze by on the side, which made the room feel cramped and awkward,” she remembers. The mirror, a long full-length mirror mounted horizontally, only amplified the discomfort: so low that when you stood in front of it, you couldn’t even see the top of your head. All of this gave a dated, poorly lit impression, with no clear flow of movement.
The wall-mounted vanity, a key decision for space saving
For this space-saving small bathroom renovation, the first decision was radical: farewell to the bulky fixture. Lauren and her husband Nathanael spent a long time looking for a shallower, wall-mounted model, finally finding one at Wayfair. “Replacing the oversized vanity with a slimmer, wall-mounted version completely transformed the room,” says Lauren Saab. The door now opens smoothly, you can move straight ahead, and the bathroom feels as if it’s finally been designed rather than endured.
The couple also replaced the pedestal with a wall-mounted sink and chose large handles for the drawer to improve ease of use. Almost everything was DIY: installing the vanity, painting, lighting, mirrors, trims. They only brought in a professional for the marble floor, a marble-based tile with small inserts that adds a subtle pattern. The entire transformation cost about $4,200, or around €3,900, with professional tile installation included.
Materials, colors and ideas to copy into your own bathroom
The other major change centers on the mirror. The narrow horizontal band is gone: Lauren Saab opted for a model that matches the room’s proportions, reflecting more light and visually enlarging the wall. To further lighten the space, she chose a very light base: white walls (Benjamin Moore’s Cloud White) and beadboard-style paneling painted in a soft gray (Classic Gray from the same brand), which add a warm cottage touch without making the height feel stretched.
This renovation offers a few simple ideas to reuse at home. Before thinking about decor, Lauren advises checking the circulation first: the door’s swing, the ability to stand facing the sink without contorting, and the height of the mirror. Next, favor a wall-mounted, less-deep vanity to free up floor and sight lines. A large, well-proportioned mirror, light colors, and a floor that’s slightly graphic but not overly busy, such as the Carrara marble pattern used here, finish the look of a room that feels more spacious. “The bathroom has moved from a space we avoided to a calm and generous area, proof that even the smallest spaces can be arranged to be pleasant to live in,” concludes Lauren Saab.
