
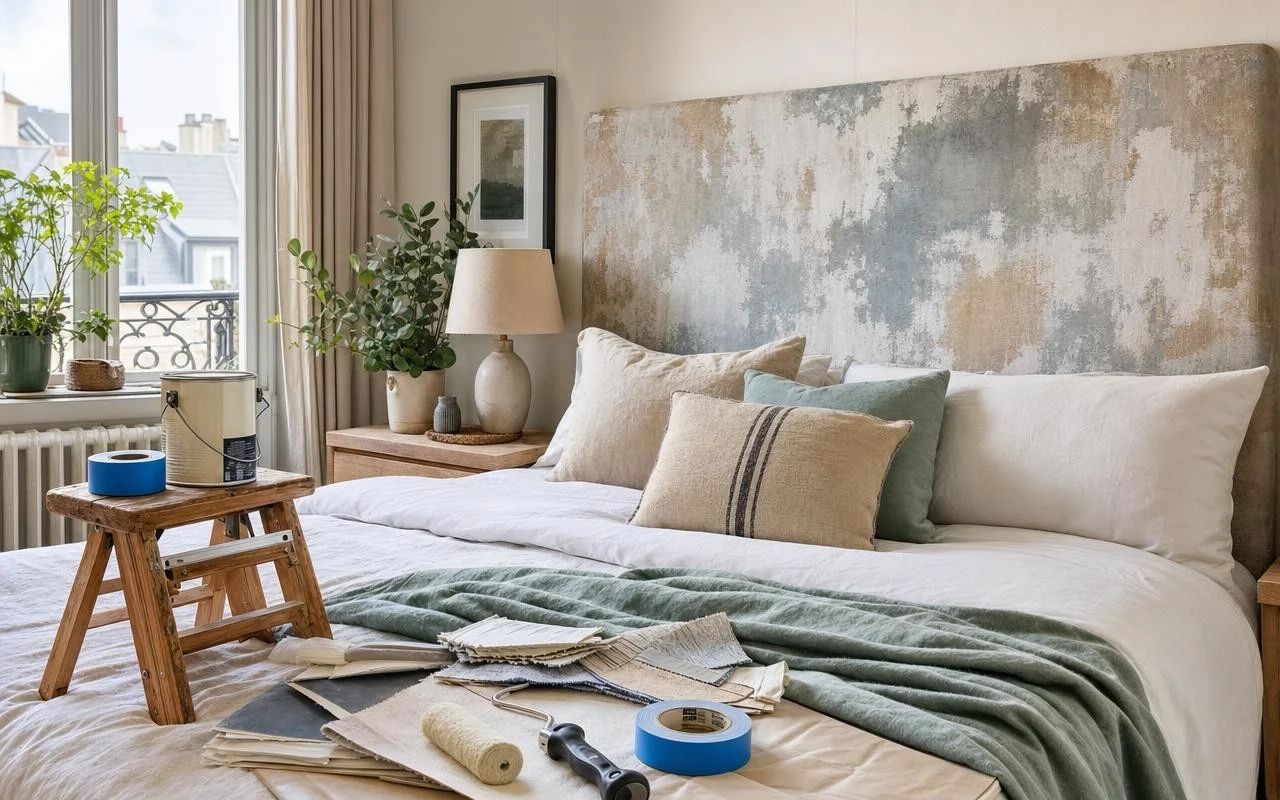
Renovating the look of a bedroom without swapping the bed is often the tricky part of decorating a room. When the frame is solid but the headboard no longer appeals, many end up replacing the entire setup. The story of Maya Drozdz, highlighted by Apartment Therapy and AOL, shows that you can achieve a budget-friendly DIY headboard with a custom look without discarding the bed frame.
This decorating enthusiast owned a high-end bed with a modern aesthetic, even though her style had drifted toward an eclectic, vintage mix. “I have a bed of very high quality, with an aesthetic that’s vaguely modern but no longer suits me,” Maya Drozdz explains. Since the headboard is integrated into the bed frame and cannot be detached, she had to imagine a radically different solution, starting with a purchase of… 40 dollars.
When the integrated headboard blocks any urge to redo the room
Maya initially wanted to change only the headboard, the most visible part in the room. But the original model was fused with the frame, as is the case with many modern beds. No chance to discard a perfectly functional piece of furniture. Her goal: an upcycling of the bed frame, without major renovations or impulsive purchases.
The turning point lay in a matter of proportions. She realized that a king-size headboard could slide in front of the original queen-size headboard without getting in the way. This simple “headboard in front of headboard” unlocked everything: the old panel stays in place, hidden, while the larger new piece gives the illusion of a bed that’s been completely redesigned.
A $40 DIY headboard: fabric painting and a successful Plan B
It was at a local auction that Maya won a padded headboard for $40, about €37. She dreamed of an XXL upholstered model, but kept a careful eye on the budget: “Buying something like that becomes really expensive, so I chose a DIY approach,” she explains. Her initial idea was to remove the old fabric and replace it with something that better matched her new vibe.
However, the thickness of the original fabric made the staple gun unusable. Maya then turned to another route: painting the fabric directly. After researching, she dismissed traditional textile paint: “Fabric paint isn’t opaque and I didn’t want to head toward a darker shade, but chalk paint, mixed with water, can be used,” she notes. The early layers, very diluted, made her doubt: “it was hard to imagine a positive result,” and the beginnings “looked awful.” Yet, “after four light coats, the fabric was covered but not stiffened, and I sealed it with a furniture wax,” Maya Drozdz explains.
Premium finishes and a clean mounting on the existing bed
To give a more “designer” look to her new DIY headboard, Maya doesn’t stop at the paint. She adheres a Morris & Co fabric along the upper border, the Golden Lily motif in Sunshine color, using fabric glue. “Reupholstering the border turned out a bit easier than expected, because I chose a lightweight fabric with a pattern that easily hides mistakes,” she explains. A thick cord is added at the seam to conceal the junction between the printed fabric and the painted fabric, as well as any imperfection.
The lingering question everyone asks: how do you attach this new king-size headboard to an existing queen-size frame? Maya uses metal adapter brackets—metal mounting brackets—that securely link the new headboard to the original bed, without having to drill into walls. Her room now reflects her evolved aesthetic, and she speaks of an “unattainable dream” realized on a small budget. “The final result looks like one of those custom-made headboards I never thought I could afford,” she says, delighted to have transformed her bed without replacing it.
