
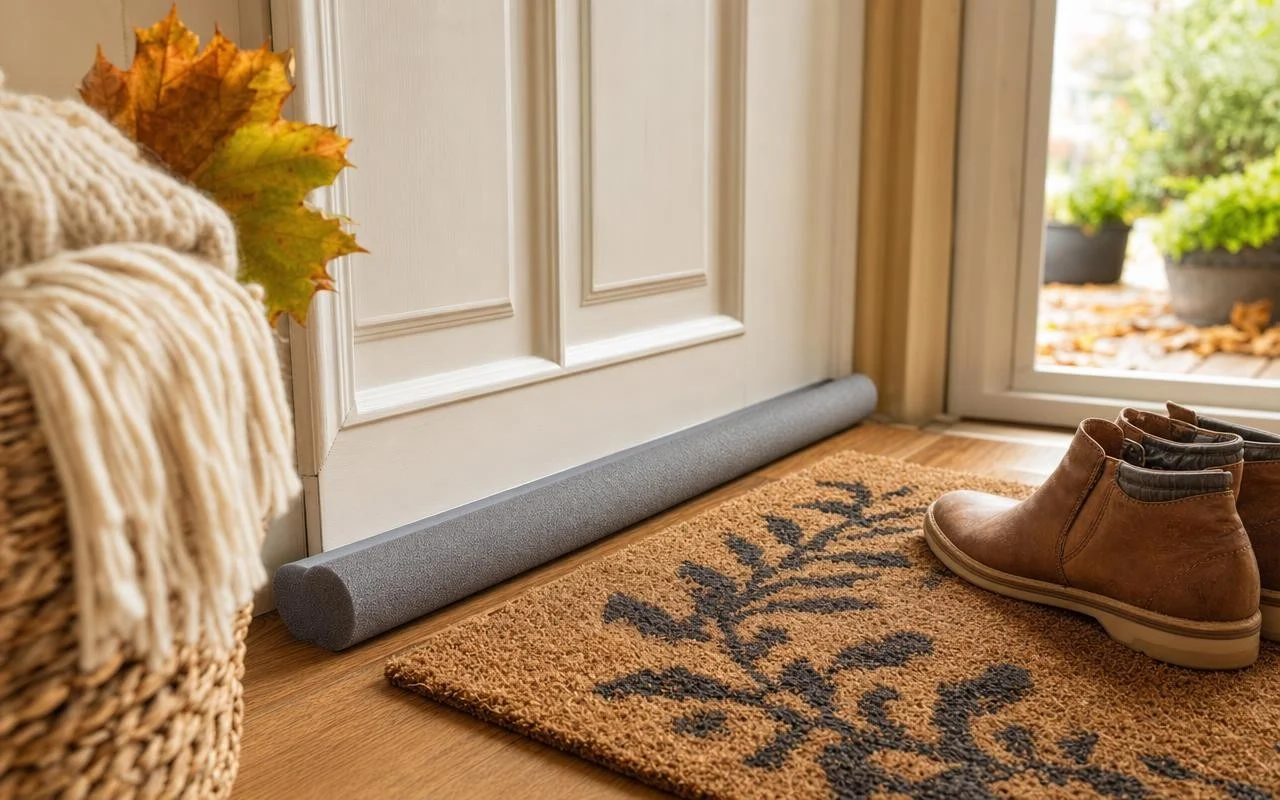
Cold is starting to creep under doors and heating bills are already a concern. Many homes let warm air escape through tiny gaps that are only noticeable by feeling a draft at floor level, especially near the front door or the garage.
Over the past few years, energy-efficiency experts have highlighted a simple gesture: caulking openings with a weatherstrip. Climate specialists cited by the Spanish media Okdiario summarize the situation this way: “Climate experts agree: installing weatherstrips on doors in autumn can help save up to 10% on the heating bill.” It remains to be seen where to install it and how to choose it so that this promise holds true.
Door caulking: why weatherstripping matters so much
The Le Robert dictionary defines caulking as “the act of caulking; the result of that action.” In other words, it involves plugging the gaps of a door or window to limit air exchanges. The Institute for Diversification and Energy Saving (IDAE) notes that nearly 40% of heat losses pass through windows and glazing, and that between 25% and 30% of a dwelling’s heating needs come from these losses.
Doors also contribute to these losses: TotalEnergies mentions up to 10% of heat loss through gaps in doors and frames. For IDAE, adding weatherstrips and adhesives on doors and windows can reduce energy consumption by 5% to 10%. The organization adds that small improvements of this kind can collectively account for up to 30% savings on heating and air conditioning, while nearly half of a home’s energy use is spent solely on heating the house.
Spot the leaks and choose the right door weatherstripping
Before buying anything, experts recommend precisely locating the infiltrations. The method proposed by IDAE is one simple step: on windy days, place a lit candle near doors, windows, or the recesses of shutters. If the flame flickers, there is a gap through which outside air enters and warm air escapes. The most commonly affected areas include the bottom of exterior doors, a garage or a stairwell, but also integrated mailboxes and the boxes for roller shutter housings.
Once the leaks are identified, the task is to choose the right model, sold for a few euros per meter in a DIY store, with door bottoms typically priced between 5 and 15 €. The main options are:
- foam, very economical, reserved for small interior gaps;
- rubber or EPDM seal, more resistant for exterior doors;
- silicone, flexible and durable in areas of friction;
- brush weatherstrip, ideal for sliding doors or windows;
- the rigid or flexible door bottom, which blocks the gap between door and floor.
Installation, mistakes to avoid and other steps to maximize savings
The performance of the weatherstripping depends greatly on proper installation. Experts advise thoroughly cleaning the substrate with a cloth and alcohol, then letting it dry completely. The seal then adheres without stretching, by pressing firmly along its entire length so the adhesive grips well. IDAE recommends using “simple and inexpensive means such as silicone, sealant, or weatherstripping” to fill small gaps, including around window frames.
A few precautions are in order. One should ensure that the door still closes smoothly without forcing, and avoid painting the seal, which reduces its flexibility. Ventilation grilles and VMC ducts must never be blocked, in order to maintain good air quality and prevent humidity. IDAE also notes that each additional degree on the thermostat increases consumption by about 7%, and recommends 19–21 °C in living rooms, 15–17 °C in bedrooms at night. When combined with these settings, weatherstrips are among those small, inexpensive actions that can collectively reduce the heating bill by 10% to 40%, depending on the organization.
