
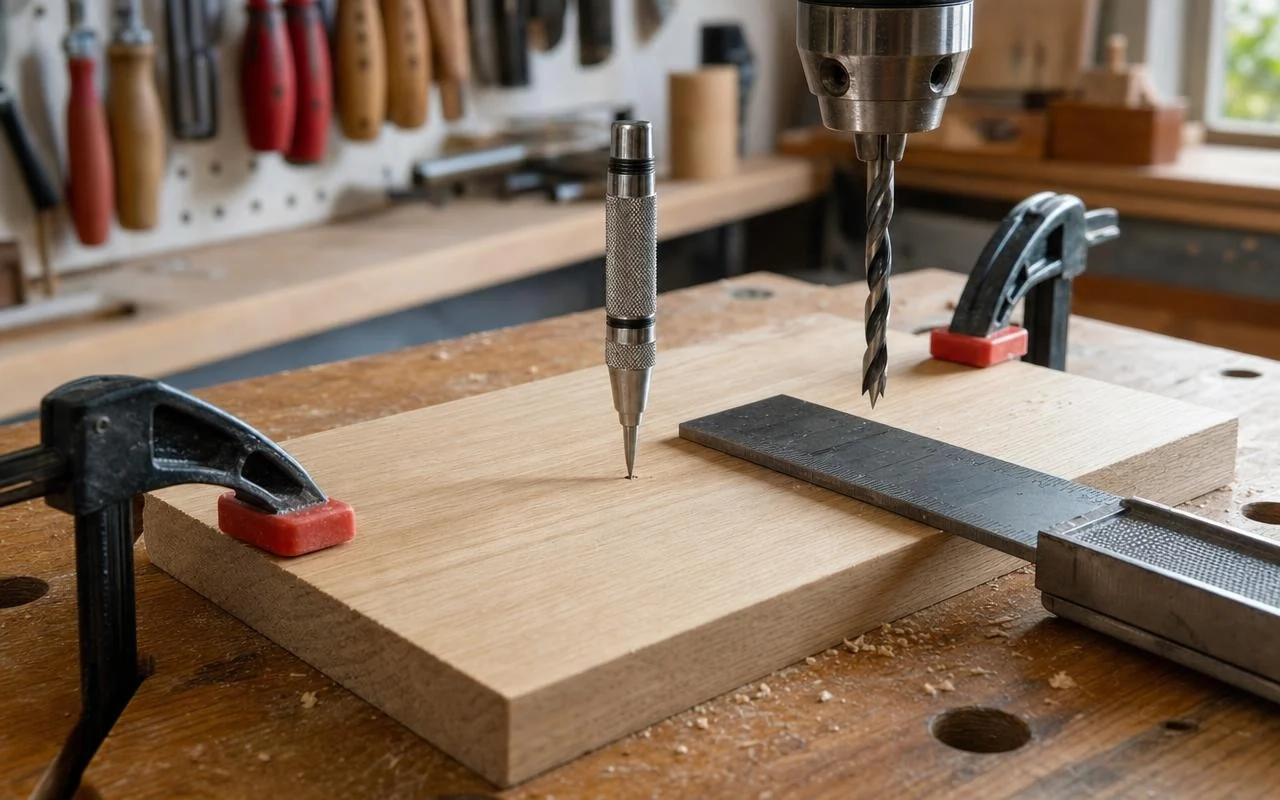
A hole that starts off skewed, a drill bit that slips, and a wooden facade scarred by a deep gouge: many DIYers know this scene. Whether you’re drilling pine, oak, a metal profile, or plastic, the problem resurfaces as soon as the bit touches the surface. The drill bucks, veers from its starting point, and the alignment of your project gets compromised. Even with a capable cordless drill, you can still end up with a disappointing result.
This drift doesn’t come only from a hesitant gesture. Wood fibers guide the drill bit along the grain—like in pine or oak—while a perfectly smooth sheet of metal or a glossy plastic offers no grip. Guides from Castorama also remind that applying too much pressure at the start amplifies the phenomenon and creates those scratches we dread. Yet two tiny, simple accessories are enough to regain control.
Why the drill bit slips and why the hole won’t stay straight
Experts at HouseDigest describe a drill bit that always seeks the easiest path. On a coarse-grained wood, it slides into the soft veins; on a smooth metal or plastic, it skates instead of biting. With high speed and substantial pressure from the very first moment, the tip wanders and soon leaves a mark. Many DIYers therefore create a small indentation that forces the drill bit to remain in the correct position from the first few turns.
To obtain this little indentation without a hammer or risking deforming the piece, many workshops use an automatic center punch with a spring. Paired with a simple machinist’s square or a carpenter’s speed square, it turns the portable drill into a precision tool. The former locks the drill’s starting position, while the latter provides a visual reference to keep a 90° angle throughout drilling.
Two tools, the automatic center punch and the square, to drill straight without effort
The automatic center punch is a small metal tube ending in a hardened steel point. Inside, a spring tightens when you press, then releases a sharp tap that marks the surface at the correct spot. According to HouseDigest, you adjust the spring force depending on the material: stronger for steel, gentler for plastic or thin aluminum. L’Établi then recommends checking that the drill bit sits snugly in this imprint before starting slowly.
To keep the hole perfectly square and drill straight, guides from Castorama and L’Établi suggest a small machinist’s square or a carpenter’s speed square. Simply press it against the surface to be drilled and align the drill body parallel to the edge of the square. While drilling, a quick glance helps ensure the bit remains on the vertical axis, without needing a bulky drill press.
The right step-by-step method for a neat, straight hole with no slippage
On a wooden plank or a metal piece, start by marking the center of the future hole with a pencil or a simple center punch. Then place the automatic center punch on this mark and press until the click, once or twice depending on the hardness of the surface. Position the drill bit in the imprint, hold the drill with both hands, and start at a low speed for only a few millimeters, letting the tool cut without forcing it.
When the hole is started, place the square against the piece and align the body of the drill with one of its edges, then take a profile view to verify the 90° in both axes. Drill in short bursts, periodically removing the bit to clear away the chips. L’Établi warns against three common mistakes: starting too quickly, pressing too hard, and failing to monitor alignment during drilling.
