
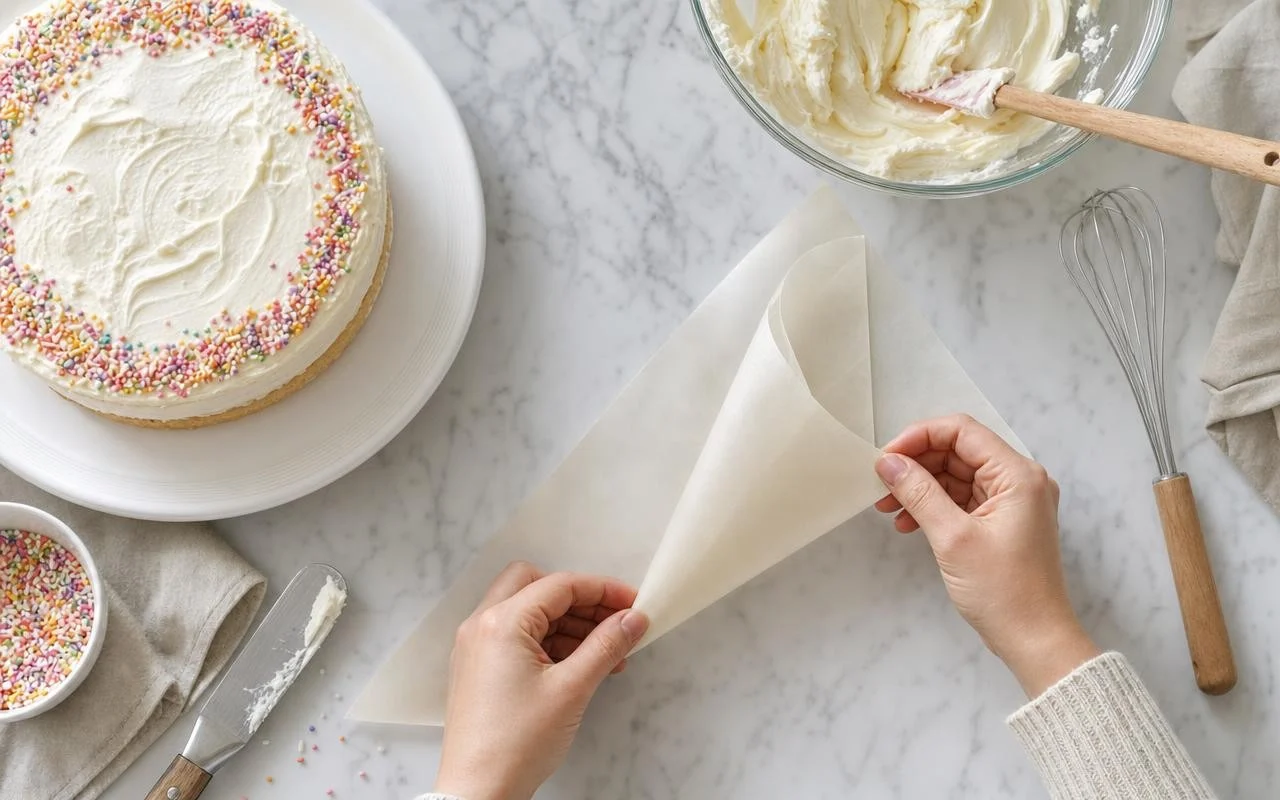
You have a cake to finish, the cream is ready… and you realize there is no piping bag in the drawer. Don’t panic: the sheet of parchment paper lying on the work surface can be transformed into a true pastry tool. Starting from a simple triangle, you obtain a precise and hygienic cone, ideal for writing with chocolate or drawing pretty borders.
The pastry chefs have used this small disposable cone for a long time, under the name writing cone. When rolled well, it can support royal icing, melted chocolate or a small amount of cream. It all depends on how you cut and roll this parchment-paper triangle. The move seems simple, but there are two or three traps to avoid.
Choosing the right parchment paper and cutting the triangle
For a true parchment-paper triangle piping bag, you need non-stick parchment paper, also called baking paper. Avoid aluminum or plastic wrap, which deform or tear. Cut out first a square, for example 25 cm on each side for home use, then cut it diagonally: you obtain two isosceles right triangles. The largest side of the triangle, the hypotenuse, will serve as the base of the future cone.
The equipment remains minimal, which makes it a very handy last-minute trick:
- 1 sheet of parchment paper cut into a square,
- 1 pair of sharp scissors,
- optionally a piping tip and a stapler if you want to secure the top.
Rolling the triangle into a cone without leaks
Place the triangle in front of you, base toward you, tip upward. Grab the left corner of the base and roll it toward the center of the long side until you form the start of a cone. Then bring the right corner over to close the cone. The three points should come together neatly; this marker guarantees a neat tip, without micro-holes through which the icing could escape.
Adjust the tightness of the paper until the tip is well closed and taut. When the shape satisfies you, hold the cone and fold the tabs that extend at the top inward, by folding two or three times to “lock” the cone. Some professionals add a staple at the top when they prepare several cones in advance. Your parchment-paper cone should now stand on its own, tip down, without unrolling.
Fill, seal and cut the tip of the homemade piping bag
Slide the empty cone into a tall glass or cup to keep your hands free. As long as you haven’t cut the tip, nothing can leak. Pour your filling inside: the ideal is a small amount, around a quarter of a cup, and only up to half the height of the cone. This rule of “fill only halfway” prevents the filling from rising and spilling over the top.
Take the cone out of the glass, pinch slightly above the filling, then roll the top edge downward to push out the air. When everything is well sealed, cut the end with scissors making a tiny notch, test the icing line on a plate, then widen the opening if needed. With a piping tip, simply cut a bit larger, insert the tip through the point and push until it sits flush. Hold your bag like a pencil, the dominant hand applying pressure just above the filling, the other hand guiding the tip. This type of bag is perfect for small amounts of melted chocolate, royal icing or cream, whenever you want fine lines or precise decorations.
