
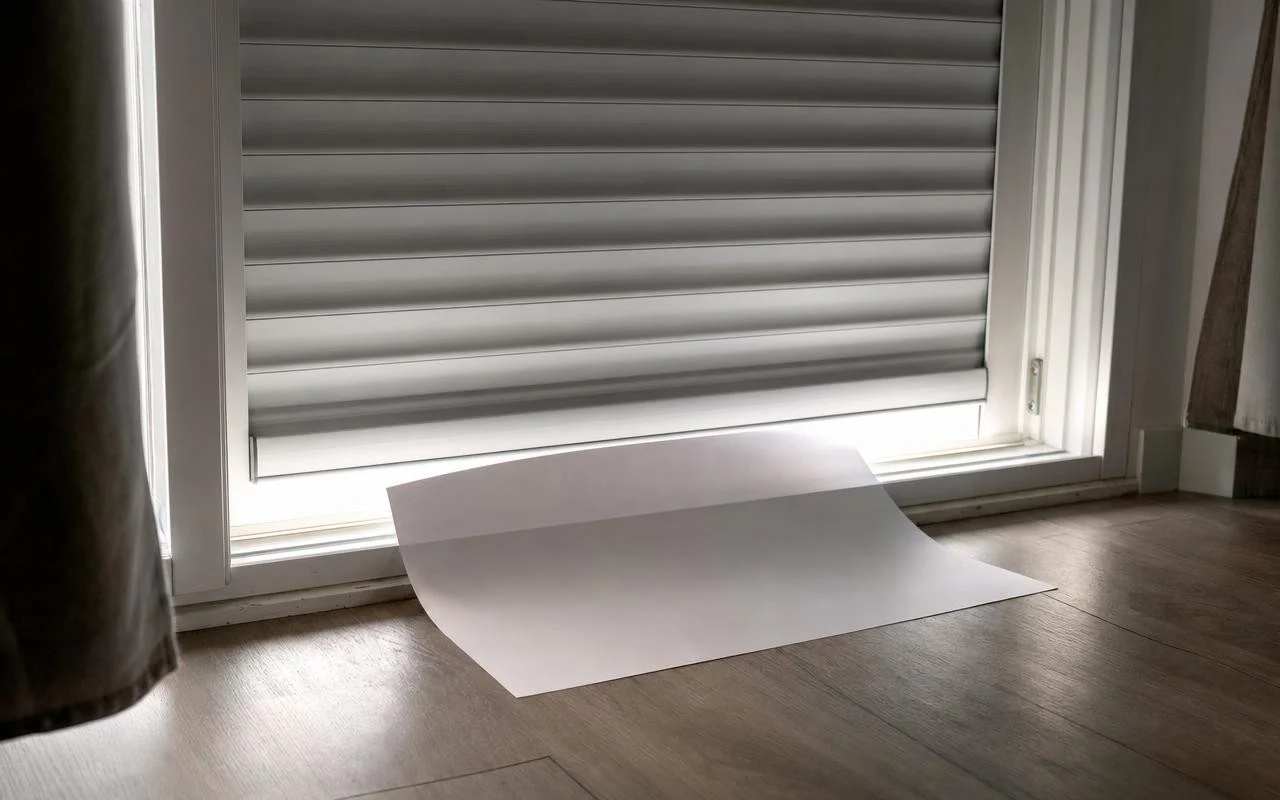
A simple sheet of paper slipped under a closed roller shutter that lifts by itself: many homeowners say that this tiny test led them to suspect heat losses. In the moment, you might think it’s just an ordinary draft. Then you realize that outside air can pass freely through the gap in the shutter, and the heating bill tends to follow a different trajectory.
Every autumn, people swap window seals, wedge a draft-stopper under doors, and monitor the glazing. Yet the roller shutter box, the housing that holds the rolled-up slats, often stays off the radar, even though it can let between 10% and 30% of a window’s losses slip away, according to several estimates. Behind this tiny opening of a few millimeters can hide a substantial energy leak.
Why the roller shutter box lets so much heat escape
To understand what is at stake, you have to look closely at the housing above the window. The slats rise inward and exit through a gap that communicates directly with the outside. When the box is made of PVC, wood, or aluminum—materials that are poor insulators—and it shows a slight play or tired seals, cold air rushes in and warm air escapes without resistance.
The vulnerable zones are found at the inspection hatch, at the connection to the wall, at the mounting points, and, for manual shutters, around the strap or the crank. Several sources indicate that an uninsulated box can account for 10% to 30% of a window’s losses. And since closed roller shutters can reduce up to 60% of a window’s losses, addressing the box becomes an obvious lever for the future energy performance diagnosis.
Test the roller shutter box in 60 seconds, then seal it
The sheet test requires neither expertise nor tools. Simply close the shutter as you do each evening, choose a moment with no drafts in the room, and slide an A4 sheet, possibly folded in half, into the exit gap of the slats. If the sheet moves, lifts, or slides out with little resistance, that reveals air leaks between the outside and the room.
To refine the pinpointing, repeat the gesture under the inspection hatch, near the side cheeks, and at the wall-box junction. Some feedback notes a sheet that almost exits on its own; after applying a simple seal, the room becomes less stifling in a warm summer evening. The same fault lets in cold air in winter, and while this test remains an indicator, not a full diagnosis, it more than justifies this quick check before the first hard frosts.
Insulating the roller shutter box: recommended materials and perceived effects
Once the leaks are identified, the priority is to seal before attempting to insulate the roller shutter box. New seals around the cover, filler material in the cracks, low-expansion spray foam to fill the gaps—the goal is to stop the air passage without obstructing the mechanism. Only then can an insulating material be slid into the box, respecting the free space and the travel range of the slats, whether it is mineral wool for 3 to 4 cm, expanded cork, or polyurethane foam.
The budget remains modest—a few tens of euros of materials per box—for an effect that is as visible as it is felt: walls feel less cold, drafts and noise are reduced, and the need for heating or cooling is somewhat lower. The exact gain depends on the entire home, but for a very leaky box, these actions translate into less time the radiators run and a more stable sense of daily comfort.
