
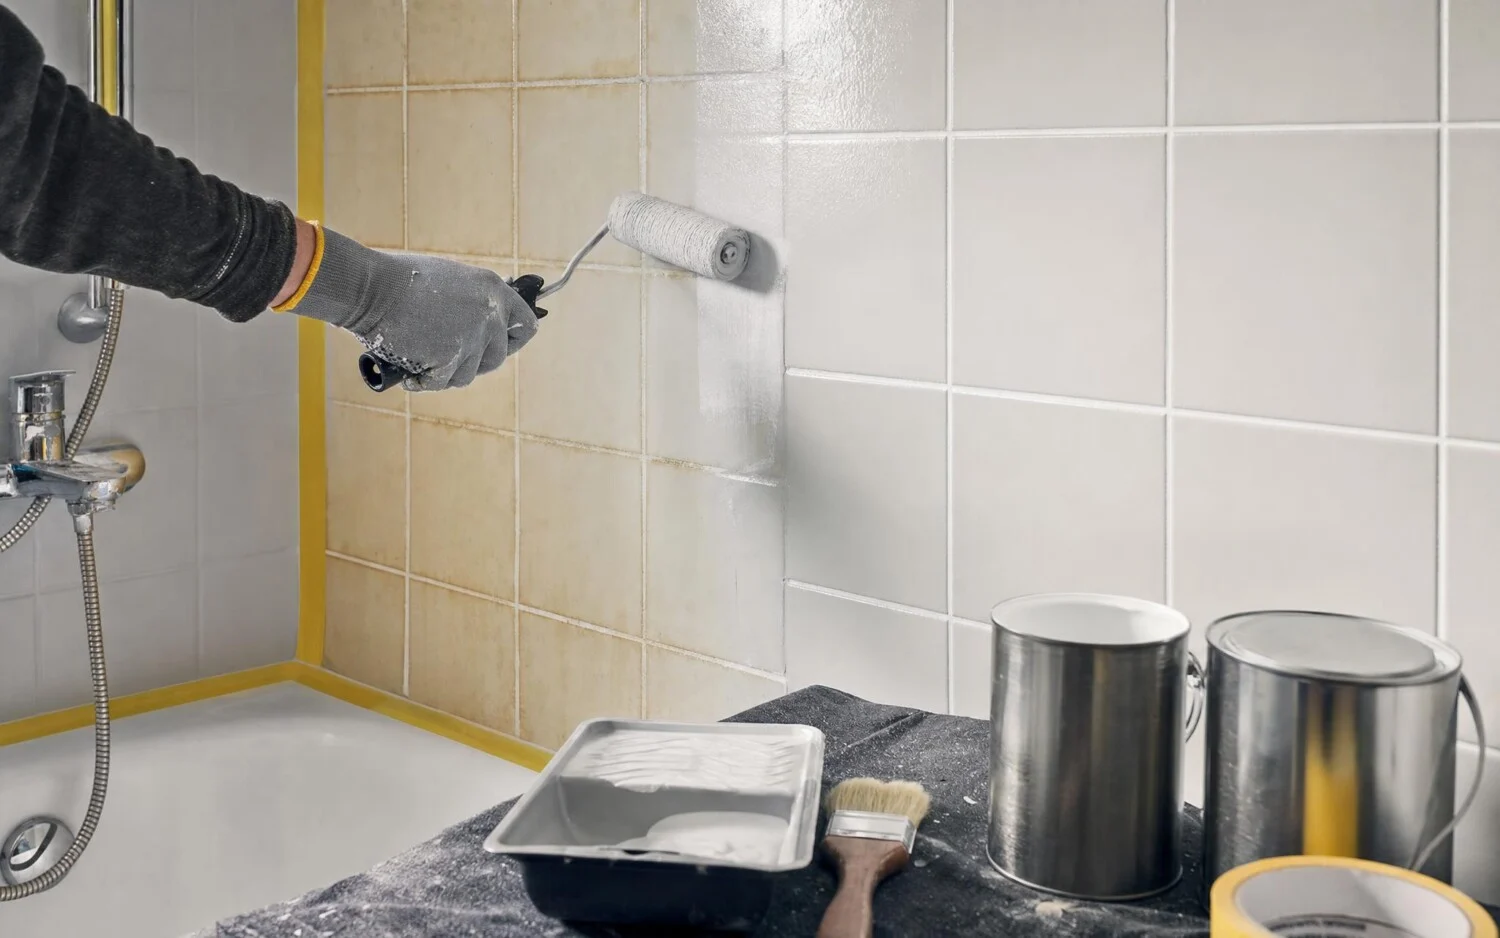
Aged tiling, patterns from another era, and yellowed grout: many bathrooms make you want to redo everything, but the quote quickly brings you back down to earth. Between removing the old tiles, hauling away debris, and installing a new surface, the bill climbs, and the renovation can immobilize the room for several days.
Yet there is an option to completely refresh the space with bathroom tile paint, without breaking a single tile. Knowing that a newly supplied and installed tile installation typically costs around €110–€150 per square meter, painting becomes a genuinely budget-friendly trick. The question remains: how to proceed so that the makeover lasts longer than a few showers?
Painting bathroom tiles: when paint is a sensible small-budget idea
Before pulling out the rollers, a quick assessment is essential. Paint works well on tiles that are sound, well-adhered, with no major cracks or hollow-sounding tiles. Professionals estimate the lifespan of this type of renovation at roughly 3 to 5 years, depending on the quality of the products, the preparation, and how the room is used.
The solution is mainly suitable for walls and areas away from direct splashes in the shower. Inside the shower or on a floor that sees heavy use, standing water and mechanical impacts test the paint. In these spots, it may be wiser to reserve the paint for a provisional refresh and plan a full replacement later.
Preparation and painting of bathroom tiles: the steps that make the makeover last
The key to success begins with preparing the substrate. Start by descaling with white vinegar to remove lime buildup, then thoroughly degrease with an appropriate solvent, especially around the sink or bathtub. A light sanding or dulling of the tile glaze reduces shine and improves adhesion. Then dust carefully and let it dry well.
Next comes the painting phase. Protect everything that must not be repainted with drop cloths and masking tape. A special tile adhesion primer or bonding base, recommended by manufacturers, ensures good adhesion. On this base, apply an epoxy paint or epoxy resin suitable for humid rooms, using a lacquer roller for a smooth finish, and strictly follow the drying times between coats.
Tile joints: the finishing touch that changes everything for your bathroom
A practical article published in January 2026 reminds us that “the joints provide the finishing touch to bathroom decoration.” When cement joints are damaged, scrape them with a triangular scraper, avoiding lateral movements that could chip the tiles. Then prepare a joint mortar, spread it with a diagonal rubber squeegee to fill the hollows well, and remove the excess, still diagonally.
After 15 to 20 minutes of drying, wipe the tiles with a damp sponge. Around the tub or sink, silicone sanitary joints can be replaced with a cutter, gently pulling out the old joint. Apply masking tape on both sides, dispense a new bead with a caulking gun, then smooth it with a continuous motion, using a spatula or a damp finger, before removing the tape. If the joints are only yellowed, a joint renovator pen offers a simple, quick, effective touch-up. For just a few tens of euros worth of products, the tiles, paint, and joints restore the bathroom to the look of a nearly new room without starting a full-scale renovation.
