
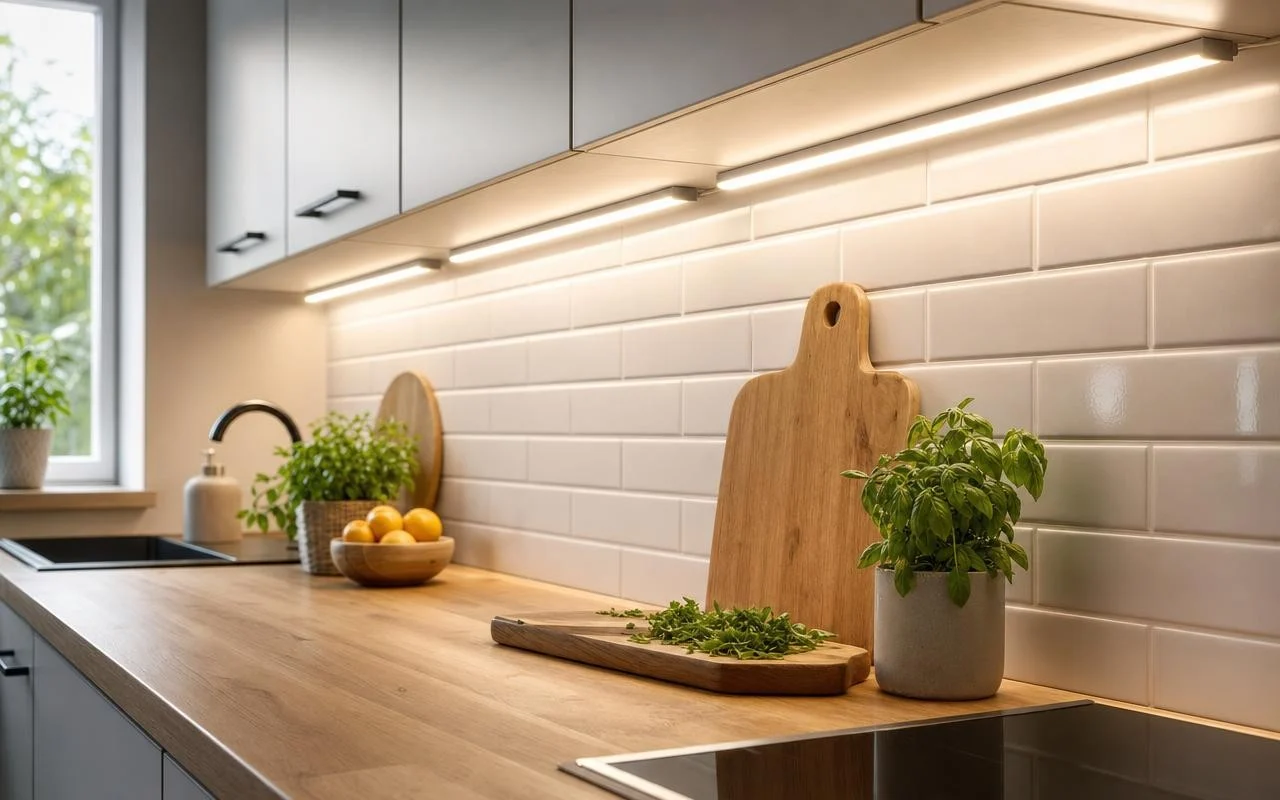
In kitchen showrooms, visitors look up at the tall cabinets and marvel: no more bulky boxes or damaged plaster crowns, only a sharp line of light running under the base units. For a long time, lighting a simple worktop meant creating chases in the wall, a conduit, dust, and a meeting with the electrician. The kitchen designers have moved on, without really spelling it out in black and white in their catalogs.
Yet another way of doing things quietly established itself: a thin light strip stuck under the furniture, wireless that runs along the splashback, no hole in the tiling, no repainting. No tool needed, even less sawing into drywall. A question many people ask themselves when signing a kitchen: how valuable are these little light bars installed in just a few minutes?
Why kitchen designers are abandoning wall chases for the worktop
Previously, installing under-cabinet lighting was a small project: opening a chase to pass the cable, connecting to the panel according to the NF C 15-100 standard, filling, sanding, painting, and, in the middle of all that, the costly intervention of an electrician. The bill quickly climbed to several hundred euros for a single light point. Nowadays, most kitchen designers rely on the same solution: the battery-powered LED strip, sometimes rechargeable via USB.
This slim unit integrates the LEDs, the power supply, and sometimes the controls. It mounts directly under the upper cabinet thanks to double-sided tape or built-in magnets, with no drilling. The installation boils down to three steps: clean the surface, remove the protective film, press for a few seconds. The operation rarely takes more than five minutes for a cabinet, which totally changes the game in light renovations or for an already inhabited home.
Choosing your battery-powered LED strip to truly illuminate the worktop
For worktop lighting to be comfortable, brightness matters as much as ease of installation. Specialists recommend aiming for at least 200 to 300 lumens per strip to chop vegetables or read a recipe without tiring the eyes. The ideal color temperature sits between 3000 and 4000 kelvin: around 3000 K, the light stays warm; around 4000 K it becomes more neutral and precise, without denaturing the foods.
Battery life varies widely depending on the technology. AAA battery models last several months with daily use, while USB-rechargeable versions require a recharge every two to three weeks. Before buying, you should also look at the color rendering index: a CRI higher than 85 provides faithful hues, appreciated in cooking. Some models add a motion detector or a tactile dimmer, convenient for adjusting the light through the day.
Positioning under-cabinet LED strips: placement, safety, limitations
When installing, everything starts with a good cleaning: the underside of the cabinet must be degreased and completely dry so the adhesive sticks. The strip is then affixed near the front edge of the cabinet, about 5 to 8 centimeters from it: this placement lights the full depth of the work surface and minimizes the shadows cast by your body.
On a long run, several strips are often necessary: many professionals aim for a light point every 60 to 80 centimeters to avoid dark areas. Near the sink, NF C 15-100 cautions in wet areas; better to choose a model with an IP44 rating. Above the burners, heat and grease shorten the life of LEDs, hence the benefit of lighting integrated into the hood or placed slightly set back. Budget-wise, these bars cost between 15 and 40 euros, whereas a wired installation with a chase and an electrician quickly runs into several hundred euros.
