
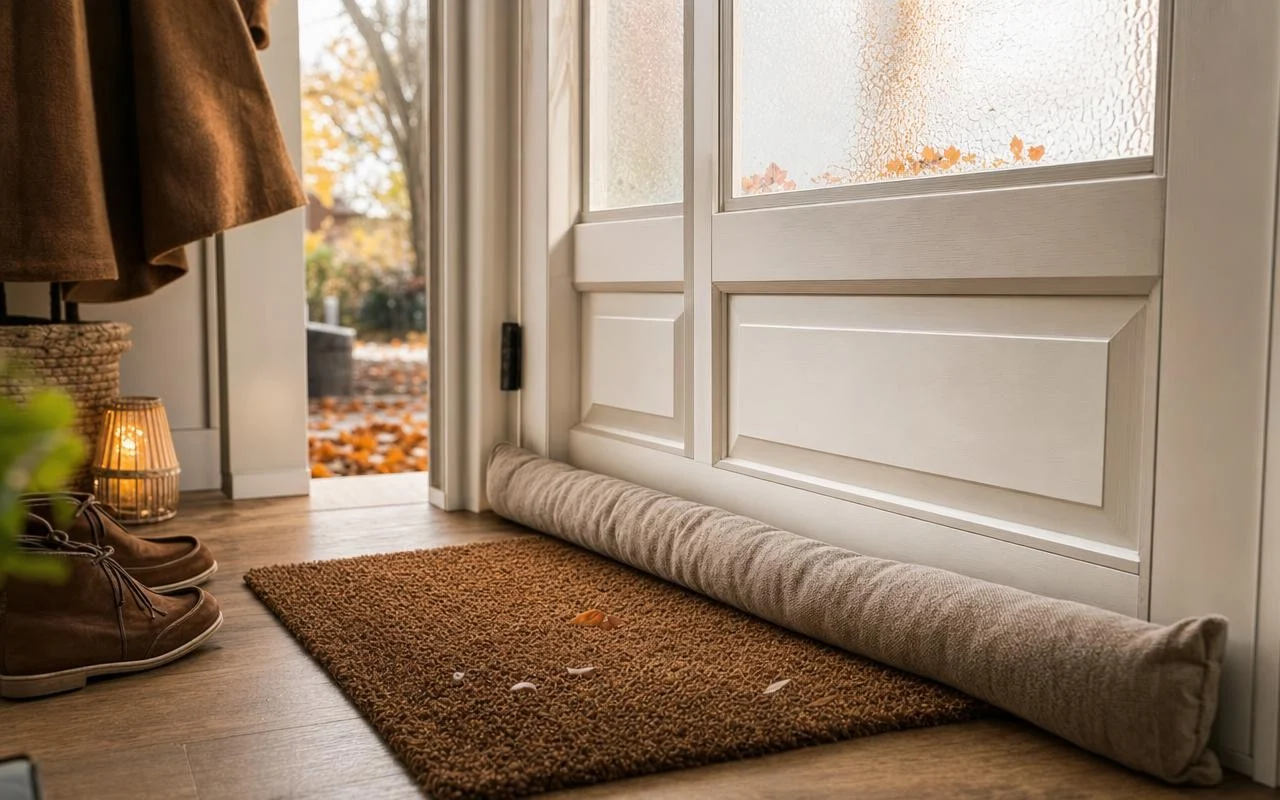
On the first chilly morning, with heating off, a thread of air often slips under the front door. You grab a sweater, shut quickly, and forget about it. For HVAC experts, that small draft is, however, a sign of a house that will let part of its heat escape all winter long.
Public energy agencies have been sounding the alarm for years about these discreet leaks. The Practical Guide to Energy from the Institute for the Diversification and Economy of Energy (IDAE) estimates that about 40% of heat losses come from windows and glazing, and that 25 to 30% of a dwelling’s heating needs are related to these losses through openings.
Why autumn is the ideal time for door weatherstripping
The Robert dictionary defines caulking as “the act of sealing; the result of that action.” In practice, it involves filling gaps to make doors and windows airtight. Autumn is strategic: the weather remains mild enough to tinker, while it allows us to spot drafts as soon as temperatures drop.
According to IDAE’s guidance, “installing weatherstrips and seals on doors and windows can save between 5% and 10% of energy.” With the same guide noting that nearly half of a household’s energy use goes toward heating, the potential savings become very concrete. HVAC experts often summarize that placing a door weatherstrip in the fall can reduce heating bills by up to 10% in a home that is poorly sealed.
How to choose and install a door weatherstrip
Before buying, professionals recommend locating air entries. IDAE’s method is straightforward: on a windy day, pass a lit candle along the bottom of doors, along the frames, and around the shutter boxes; whenever the flame flickers, an infiltration is detected. The most critical areas are mainly the bottom of exterior doors or doors leading to a garage.
In a hardware store, several families of weatherstrips address these leaks for a few euros per meter:
- The self-adhesive foam, economical, for small gaps on interior doors.
- The rubber or EPDM gasket, more resistant, for exposed entrance doors.
- The door bottom with brush or sweep, suitable when a significant gap separates door and floor.
- The seal that slides under the door, practical and removable in rental properties.
Key steps for durable caulking and real savings
For the seal to stay in place and fulfill its role, the installation is as important as the choice. Professionals advise cleaning the surface with a cloth and a little alcohol, then letting it dry completely. Cut the weatherstrip to the right length, adhere it without stretching, and press firmly. On an entry door, the combination of a peripheral seal plus a door-sweeper at the bottom remains the most effective approach.
The Practical Energy Guide recommends “simple and inexpensive methods such as silicone, sealant paste, or weatherstripping” to treat these leaks and notes that all low-cost measures can reduce a dwelling’s energy expenditure by 10% to 40%. Experts remind not to obstruct air vents or the ventilation system, which are essential for air renewal. IDAE finally advises setting the thermostat between 19 and 21 °C during the day and 15 to 17 °C at night, with each additional degree increasing consumption by about 7%.
