
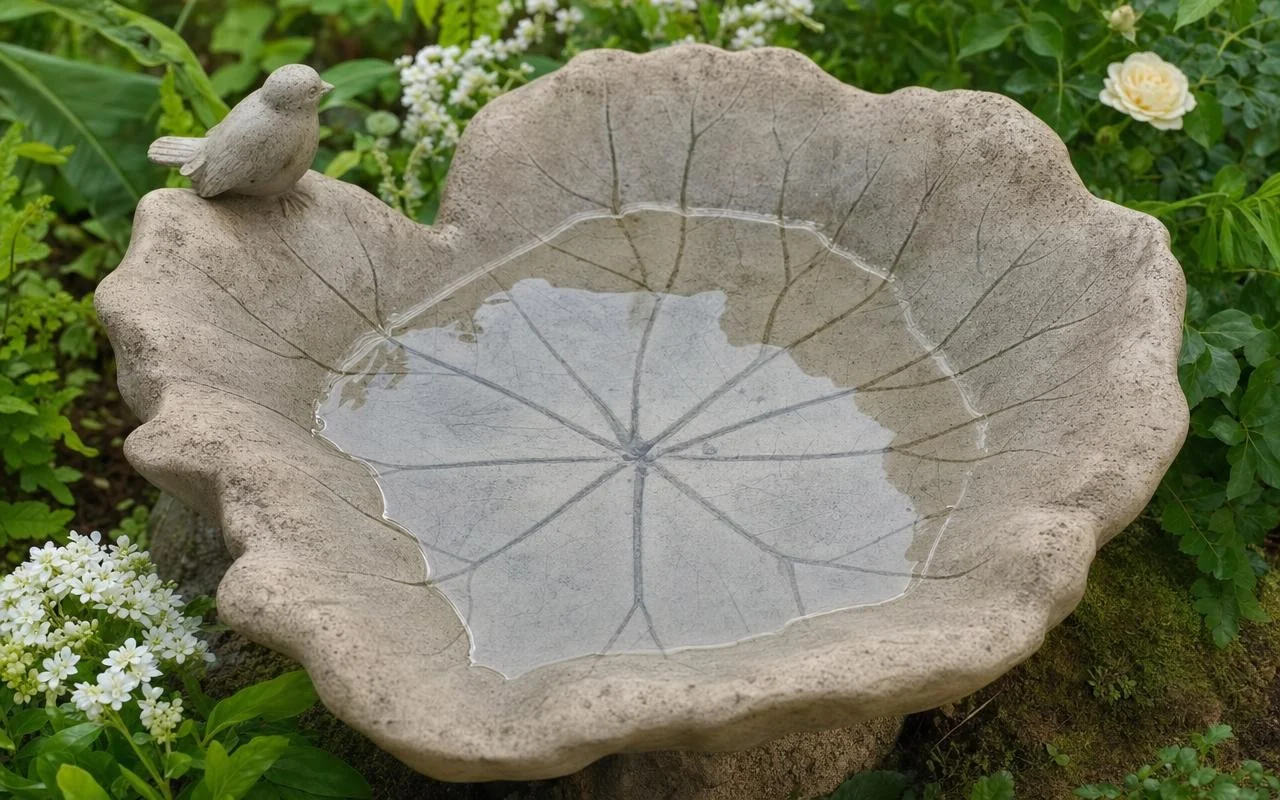
Free-standing birdbaths made of resin or stone have their charm, but they also come with two drawbacks: they all look alike and their price can quickly rise. Many gardeners, therefore, turn to an unexpected alternative, crafted from a single leaf and a bit of concrete, which creates the illusion of a large petrified foliage resting in the garden.
This DIY, popularized by North American tutorials, rests on a simple idea: use a large leaf as a natural mold. The result is a leaf-molded concrete birdbath, inexpensive, whose veins stand out like a piece of handmade pottery. It can intrigue both birds and visitors.
Why a Leaf-Molded Concrete Birdbath Outshines Traditional Designs
Instead of buying a standard basin, start by selecting a large free leaf from the garden: rhubarb leaf, hosta, gunnera, elephant ear leaf, or even monstera in mild climates. Placed on a sand dome, it forms a shallow well, ideal for birds, while imprinting each vein into the concrete like a fossilized plant.
In terms of budget, a bag of quick-setting concrete like Quikrete costs far less than a decorative birdbath from a store, and is typically enough for several pieces. Since each leaf is unique, you obtain a different object each time, easier to integrate into a border or near a pond than a large, highly visible white pedestal. And it is precisely this discreet aspect that appeals.
Simple Tools and Key Steps for a Successful Leaf Birdbath
The tools remain deliberately minimalist. You need:
- Sand to form a dome,
- A large fresh leaf,
- A quick-setting concrete,
- A piece of fine mesh (chicken wire),
- A plastic tarp, an old container, and gloves,
- Vegetable oil for demolding,
- Non-toxic paint and a sealant such as tung oil or beeswax.
In practice, protect the workspace with the tarp, then pour the sand to model a dome about 5 cm high at the center, which will yield a shallow basin. Cut the leaf stalk and place it upside down on the sand, veins facing upward. Rub the surface generously with vegetable oil to ease demolding, then prepare the concrete with water until you obtain a thick paste that holds its shape without flowing.
Finishes, Bird Safety, and Installing Your Leaf Concrete Birdbath
Apply a first layer of concrete over the entire leaf, thicker in the center, then lay a piece of mesh slightly smaller than the outline on top. This reinforcement helps limit cracking. Cover with a second layer of concrete and, if desired, shape a small central pedestal to raise the basin later. When the surface feels hard to the touch, leave it in place until fully dry, then flip the assembly and carefully remove the leaf: the veins appear in relief.
The tutorials then recommend letting the piece dry and cure for at least seven days, or longer according to the manufacturer’s instructions, before any painting. You can then tint the interior of the basin with a non-toxic paint, for example a milk-like paint based on natural ingredients or a paint marketed as aquarium-safe. The final step is to apply a non-toxic sealer, pure tung oil or beeswax, in several thin coats, focusing on the recessed areas, then to wait about thirty days for everything to cure well before filling with water.
Now to install the birdbath. The ideal is a stable area, raised slightly, with good visibility for birds but away from hiding spots for cats. You can place the concrete leaf directly on the ground, on a bed of gravel, on a cut trunk, or on a few flat stones. A few small pebbles in the basin will help the smallest species perch. And if you enjoy the experiment, simply gather another large leaf to create a matching basin for your borders.
