
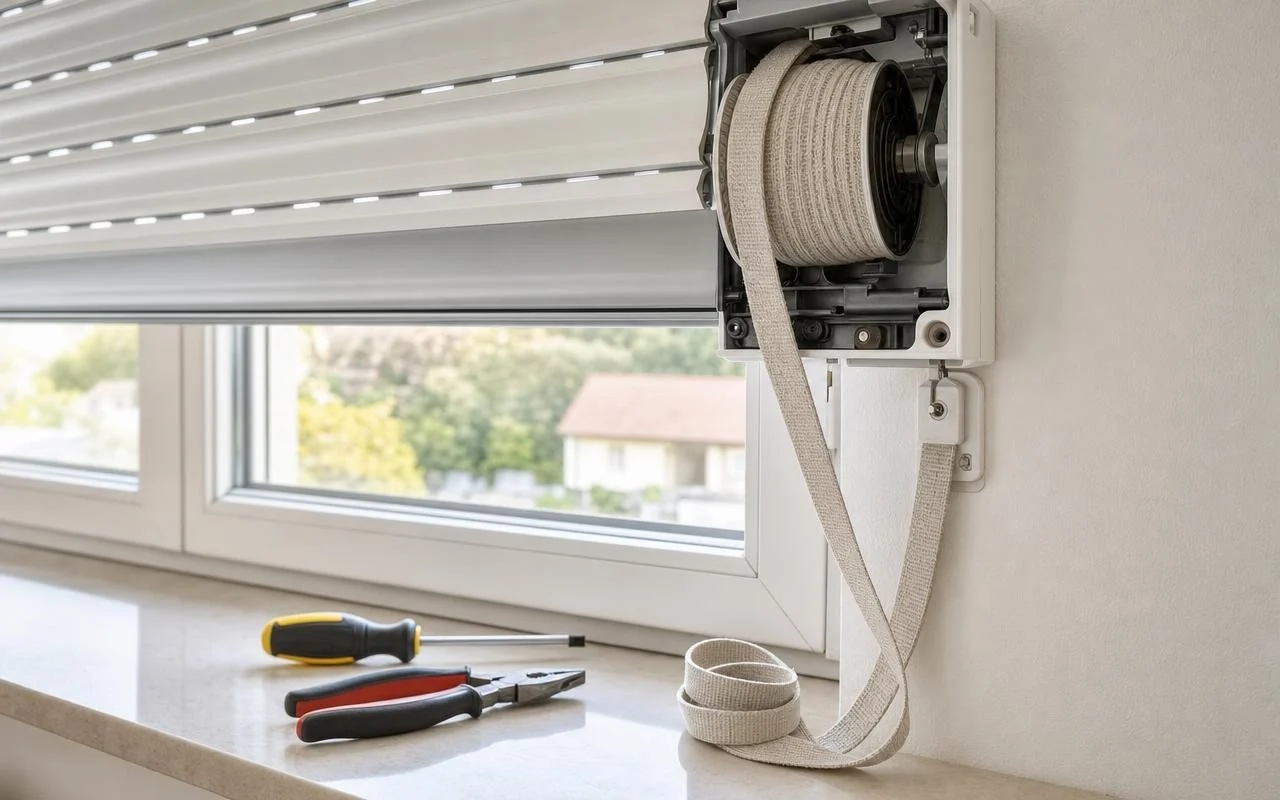
The scene is familiar in many homes: you pull the strap of the rolling shutter, a small crack sounds and the cord stays in your hand. The shutter is blocked, darkness fills the room, and the impression that you’ll have to call a repairman urgently. This small everyday incident often gives the impression of a technical repair, reserved for specialists in closures.
Yet, specialists and seasoned DIYers all tell the same thing: on a manual rolling shutter in good condition, changing the rolling shutter strap takes only a few minutes. In a video, a neighbor crazy about DIY sums up the situation with a laugh: “The shutter cord broke? Don’t worry, we’ll fix it in a moment,” explains the handyman. The whole challenge is to correctly identify the right scenario and the only truly delicate step.
Changing the rolling shutter strap: when five minutes are realistic
Professionals remind us: the quick method applies to manual strap-operated rolling shutters, the most common in homes. With use, friction and sun exposure, the strap wears, loosens and eventually breaks. As long as the sash goes up and down correctly, the axle turns freely, and the housing opens without difficulty, we stay in the simple scenario where intervening alone remains reasonable.
The tutorial described in the source specifies that this method concerns these strap-operated manual shutters. If the shutter is motorized, operates with a crank, or if the issue comes from the axle, slats or guides, the repair changes completely in nature and becomes more complex. The same goes if the housing is very hard to open, or if the shutter is particularly large and heavy, which makes handling risky. In these situations, experts clearly recommend calling a professional.
Tools, suitable strap, and preparation of the rolling shutter
Before starting, it’s best to prepare everything. The source mentions a very short list: a screwdriver, scissors or a cutter, a new strap, and, if the old model is damaged, a new roller with its cover. The key point is that the new strap must have the same width as the old one, otherwise it will jam in the pulley or in the roller. The most practical approach is to bring a piece of the old strap to the store for comparison.
For the length, the text advises a simple rule: choose a strap a little longer than twice the height of the window, the spring of the roller taking up the excess. Once the equipment is ready, open the shutter box, lower the sash to the maximum, then detach the fasteners that connect it to the axis. At the bottom, unscrew the old roller and cut the worn strap so you can remove the housing cleanly.
Key steps and spring tension: the mistake to avoid
The repair itself follows a series of short actions. The source details a very concrete sequence:
- thread the new strap through the housing, tie a solid knot, and attach it to the pulley on the axis inside the box;
- wind the strap by hand on the pulley, then reattach the sash to the axis and lift the shutter so the strap descends;
- thread the strap through the brake of the new roller, apply tension to the spring by turning it clockwise;
- lock the spring, wedge the strap into its anchoring tab with a small notch, then let the spring take up the excess before re-screwing the roller.
It is precisely the tension of the roller’s spring that concentrates most of the mistakes. The source emphasizes: if you wind too few turns, the strap will not rewind fully and remains dangling. If you force too much, the spring will operate continuously and may break faster. It is therefore essential to rotate it gradually, feel the force by hand, and never release it all at once, as it stores energy and can whip fingers. Work gloves provide real comfort. Before closing the box, specialists recommend moving the shutter up and down several times to verify that the strap slides smoothly, without any kinks, and that everything fits neatly.
Sources
- Maison & Travaux
“Planes and buses have them, but not the TGVs: here’s why trains do not have seat belts”
