
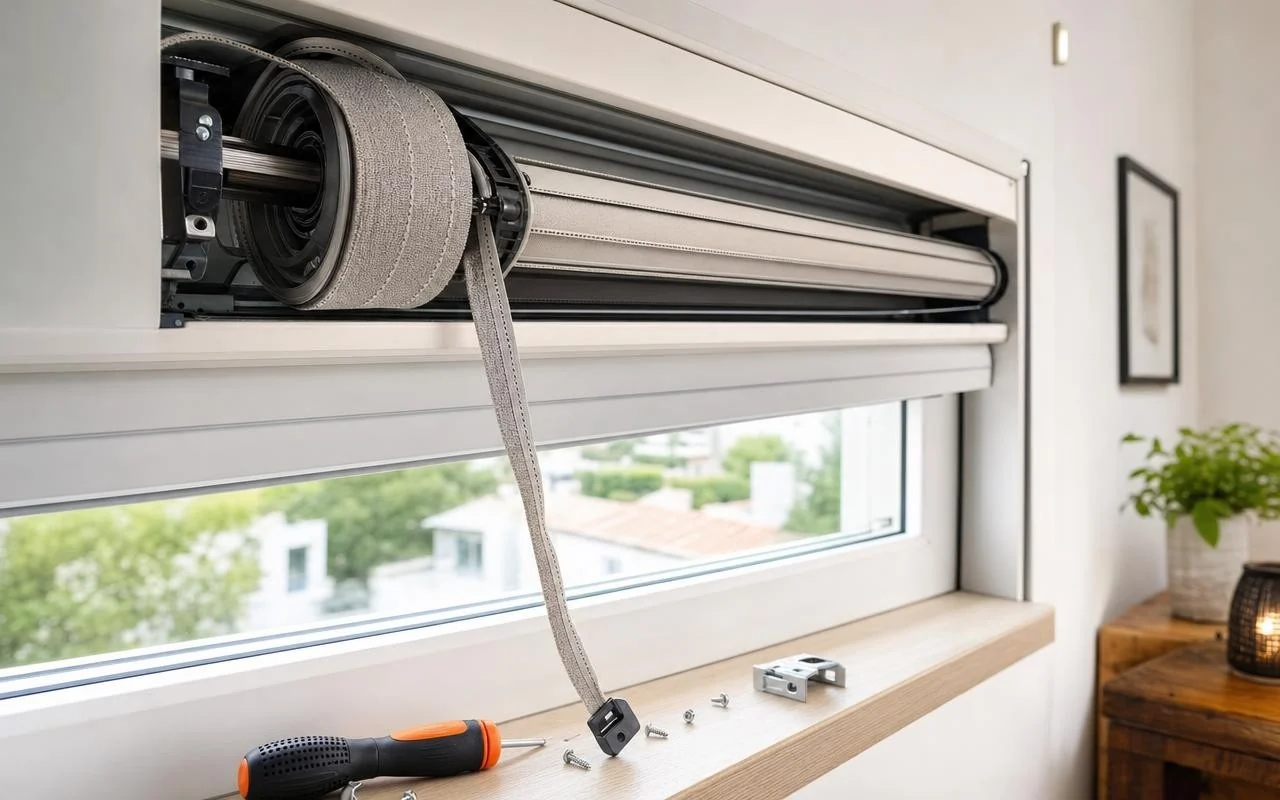
When the strap of a roller shutter suddenly breaks, it often happens in the early morning or during a weekend, and panic can set in quickly. The shutter gets stuck, the room goes dark, and you already imagine the bill for an emergency technician. The specialists in closures, however, temper expectations: “Replacing the roller shutter strap in 5 minutes is much easier than it seems,” provided the shutter is manual and accessible.
A handy neighbor sums up the situation in an online video: “The shutter cord is broken? Don’t worry, we’ll fix it in no time.” Professionals confirm the idea: if the housing is accessible and the materials ready, changing the strap can take five minutes. In more challenging conditions, we’re looking at twenty to thirty minutes. The key is to know the right method.
Replacing the roller shutter strap: getting the right diagnosis
Before pulling out the screwdriver, experts advise checking what is actually jammed. A frayed strap that eventually breaks, a slack strap that no longer lifts, or a return spring that is wearing out: the diagnosis guides what comes next. When the spring still works and only the belt is damaged, an express replacement in a few minutes remains feasible, especially on a relatively recent manual roller shutter.
Next comes the choice of the new roller shutter strap. The outlets remind that the width must correspond to the old one: usually 14 to 15 millimeters for small housings, or 22 millimeters for standard models. For the length, the simple rule is to measure the old one or to take roughly two to two and a half times the height, staying within the capacity of the roller.
Remplacing the roller shutter strap step by step, express version
For this home repair, the equipment remains modest: screwdriver, scissors or a cutter, a stable ladder, gloves if possible, a new strap and, if needed, a new roller with its trim cap. Specialists describe essentially the same sequence. Once the cover of the roller shutter housing is opened, lower the shutter panel, unhook its fastenings from the axle, then release the old strap on the drum side and on the wall-mounted roller side.
- Secure the end of the new strap to the pulley on the axle.
- Wind a few turns by hand, making sure not to twist it.
- Pass the strap through the guide, then into the new roller.
- Tighten the spring by turning it, anchor the strap, then reattach the roller.
Professionals stress two reflexes: firmly hold the return spring during tensioning, and test the shutter step by step. First reassemble the panel to a few tens of centimeters, then lower it, and then gradually increase the stroke. If the strap winds without jerks and retracts completely into the housing, the maneuver is successful and the shutter is ready for years of service.
Return spring, mistakes to avoid and when to call a pro
The whole challenge hinges on the tension of the spring. If it is not tense enough, the strap dangles and does not rise fully. If it is too tense, the pulling becomes hard and the mechanism wears faster, or even breaks. The specialists recommend turning the drum in small increments, checking the force by hand, and above all never releasing the spring suddenly.
To stay safe, artisans often cite the same tips: wear gloves, keep fingers away from the pulley, and get help if the shutter is wide or heavy. When the return spring appears fatigued, when the housing is masonry-built, or when the installation is motorized, professionals recommend bringing in a specialist. The cost is higher, but the safety and time saved carry significant weight.
Sources
- Maison & Travaux
“Planes and buses have them, but high-speed trains do not: here’s why trains don’t have seat belts”
