
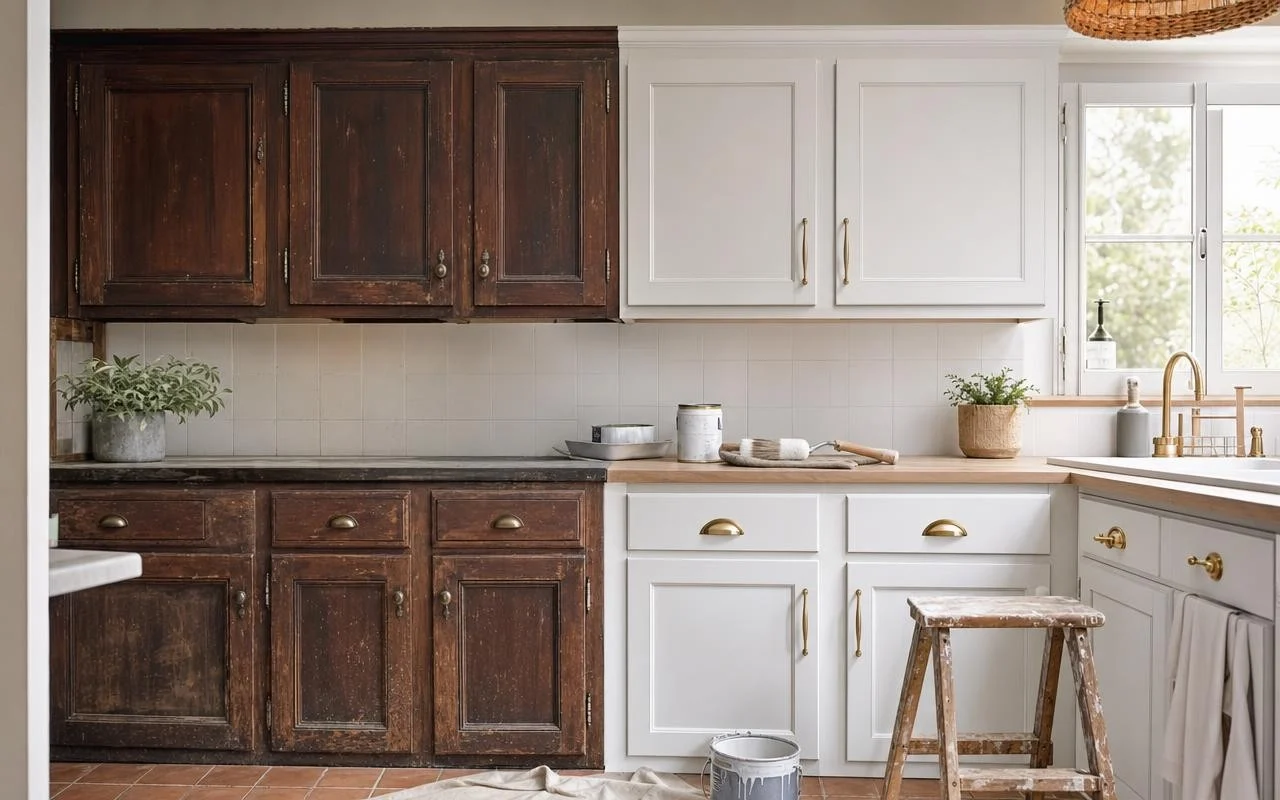
In a small bungalow spotted by Apartment Therapy and AOL, Courtney Hierath’s kitchen looked dreary: butter-yellow walls, dark wooden cabinets, and an outdated backsplash. Nothing catastrophic, but everything felt heavy and dull. Today, the same cabinets look as if they came straight from a catalog, even though the owner hasn’t touched the boxes or broken a wall.
This striking transformation is the result of a DIY kitchen cabinet renovation for $600, about €560, completed during a break from work. “I hated it from day one,” Courtney recalls about her kitchen, which she endured for three years before summoning the courage to tackle it. She describes a project that felt intimidating, then a turning point: a little free time, a tight budget, and the desire to overhaul everything without breaking the bank.
A dated kitchen transformed with a precise budget
The starting point: butter-yellow walls, dark wood cabinets, and an old backsplash pattern that Courtney still remembers. “The faded gray-and-pink motif will forever be etched in my mind,” she says. Her objective was clear: refresh the cabinet fronts, the backsplash, the lighting, and the faucet fittings for around $600, focusing on DIY rather than wholesale replacement—a strategy widely endorsed by décor articles that explain you can relook your cabinets without replacing them.
Courtney wanted a result that blended bohemian vibe, industrial touches, and clean lines. She begins with the backsplash, a highly visible area. To save time and avoid tiling, she chooses a peel-and-stick backsplash: self-adhesive tiles simply stuck over the existing surface. This choice lets her start the transformation in a few hours, with minimal tools and dust.
Trims, Shaker style and two-tone paint: the DIY method
Since the cabinets were in good condition, Courtney decides to keep the boxes and only work on the fronts. She first removes the old hardware, fills the holes, then attaches simple pine trim to each door to create a Shaker-like relief. Under the sink, she extends the idea with a chevron motif made from trim boards. “I wanted to do something different that I hadn’t seen before,” she explains about these cabinets becoming the centerpiece of the kitchen.
Next comes color, inspired by two-tone kitchen ideas spotted on Pinterest. The upper cabinets are painted white, matching the walls to create a continuous, lighter visual effect. The lower cabinets take a deep green, Behr’s Eastern Bamboo. “I wanted something bright and playful that complements all that white,” Courtney notes. The two-tone approach lightens the space while giving the old furniture character.
- Keep the existing boxes to stay within budget.
- Add trim for a Shaker-style relief.
- Paint in two tones to visually structure the kitchen.
- Finish with a peel-and-stick backsplash and updated details.
Faucets, lighting and finishes: the touch that makes all the difference
To reinforce the illusion of brand-new cabinets, Courtney goes for refined finishes. She installs new handles with a simple, industrial design, then replaces the old diminutive faucet with a professional-style model featuring a flexible spout and a pull-out spray, much more prominent visually. A black rail of spotlights modernizes the lighting, coordinated with the metal of the handles and the faucet, while bamboo blinds warm the overall look.
“What I like most are the display cabinets under the sink. I wanted something different I hadn’t seen before. I also love the bold green I chose and the clean, neat appearance of the whole setup,” Courtney says. All of it for $600, roughly €560, and a lot of elbow grease. A tangible demonstration that a DIY kitchen cabinet renovation on a tight budget can render a kitchen unrecognizable without changing the existing structure.
