
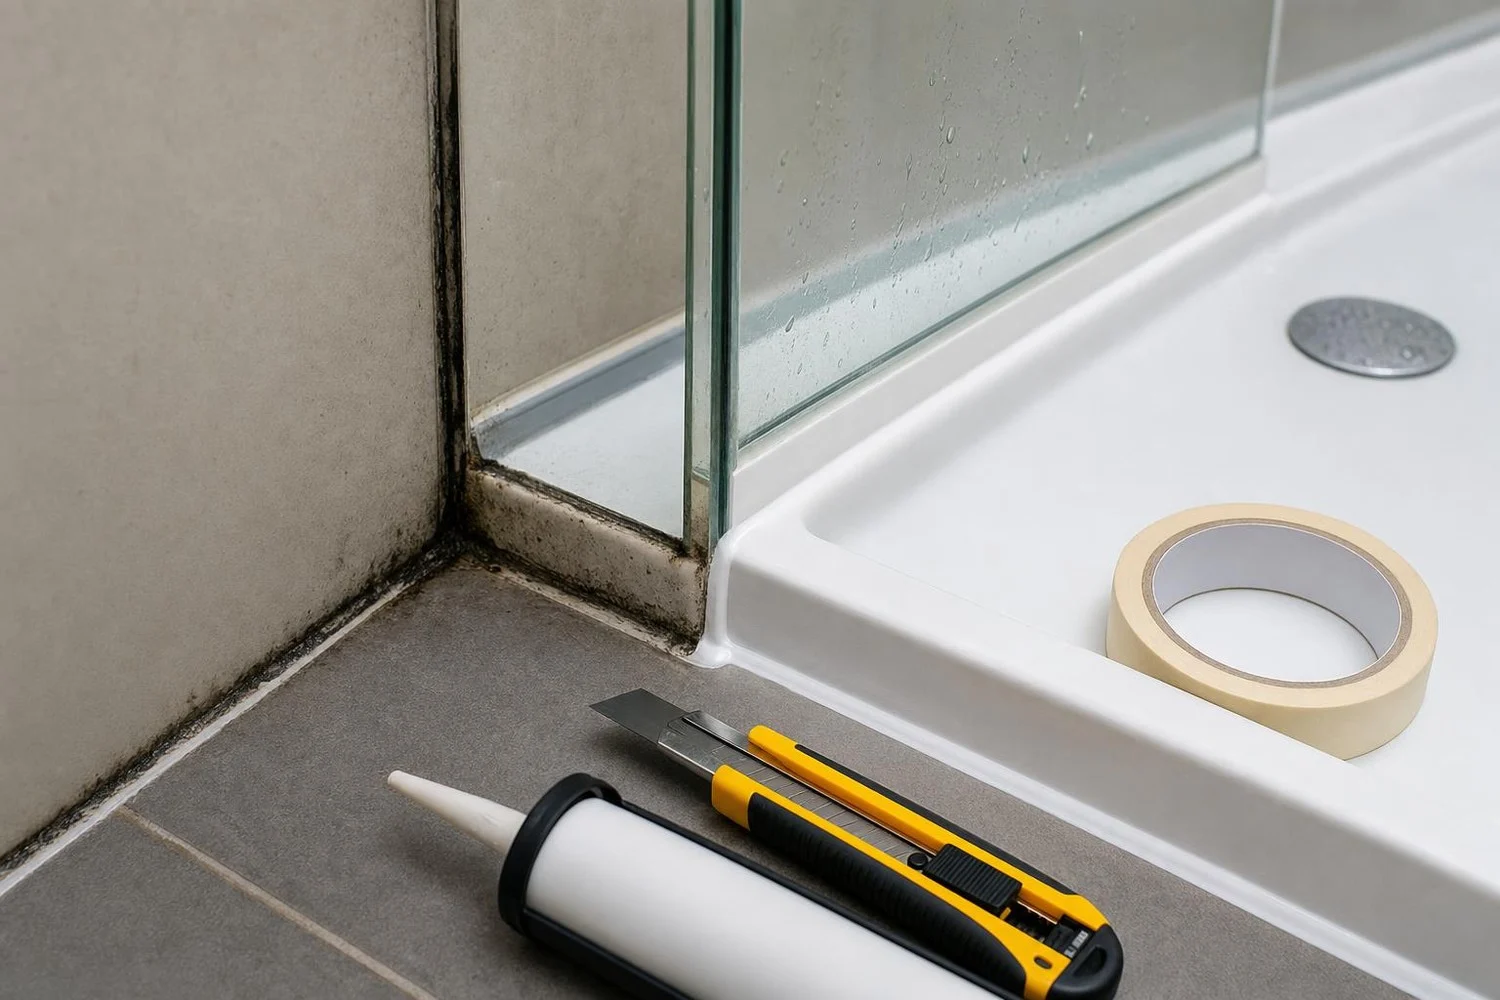
You may scrub your blackened shower seal with white vinegar, baking soda, or a toothbrush, but it keeps that gray or black hue that returns week after week. Many attribute it to a lack of time or effort, while the issue lies elsewhere: in the very material of the silicone.
When the ingrained mold has invaded the interior of the seal, and not just its surface, no household product can reach it. The aged silicone behaves like a small sponge, where spores settle deep. The real question, then, is not “which product to use?”, but “how far has the seal been colonized?”.
Blackened shower seal: when the silicone becomes a mold sponge
Three ingredients turn a white seal into a culture ground: the stagnant humidity, the organic residues from soap and skin, and a silicone aged by time or poorly installed. Over the years, the sanitary silicone loses its fungicidal agents and becomes more porous. Water seeps in, creates a microclimate along the edge of the tub or the tray, and microscopic fungi feel at home there.
The seal that protected your bathroom ends up behaving like foam: spores no longer stay on the surface, they migrate into the microchannels of the material, out of reach of the slightest cloth. This is why DIY forums report phrases like “it keeps coming back,” even after several cleanings. As a specialist craftsman explains, “you must replace the seal when molds attack the seal in depth; you’ll recognize them by their black appearance, which won’t come off with cleaning.”
Cleaning that fails: the failure test for a blackened shower seal
A simple diagnostic can tell you whether you are still fighting a losing battle: the failure test. After a thorough cleaning, using vinegar, baking soda, or hydrogen peroxide, let it sit, scrub, and rinse. Repeat a second time. If, despite everything, the black tint remains embedded in the thickness of the seal, the problem is no longer cosmetic. Other signals accompany this verdict: silicone that is soft or crumbly, cracks, peeling in spots, a persistent musty odor.
It’s not only a question of aesthetics. A colonized seal loses its elasticity and its waterproofing, water seeping behind the tile or under the tray, leading to costly infiltrations. The Agence nationale de sécurité sanitaire, ANSES, reminds us that the spores of mold also degrade indoor air quality and can worsen allergies and asthma, especially in children and vulnerable individuals. Scrubbing a moldy seal without protection releases these particles into the air; it is wiser to wear gloves and a filtering mask and to ventilate the room well.
Replacing a blackened silicone seal: steps to start fresh on a healthy basis
When the darkness is embedded in the mass, the only real remedy is to redo the seal. The method remains accessible, provided you do not skip steps: remove the old silicone entirely with a utility knife, scrape away invisible residues to avoid the “silicone on silicone” error, clean the surface with isopropyl alcohol or household alcohol, then let it dry for several hours. Next, apply masking tape on each side, apply a sanitary silicone that is fungicidal and compliant with the EN 15651-3 standard, smooth with a wet finger, and respect the indicated drying time, often around 24 hours before reintroducing water.
Once the new seal is in place, a few quick habits markedly delay the return of the black: run a squeegee or wipe with a cloth to prevent standing water, keep the VMC running or open the window for about fifteen minutes after each shower, and limit greasy residues from soaps and oils. Even when well installed, a new seal will eventually lose its fungicidal additive due to time and light; knowing the first signs, without hammering away at a doomed cleaning, allows you to intervene at the right moment.
