
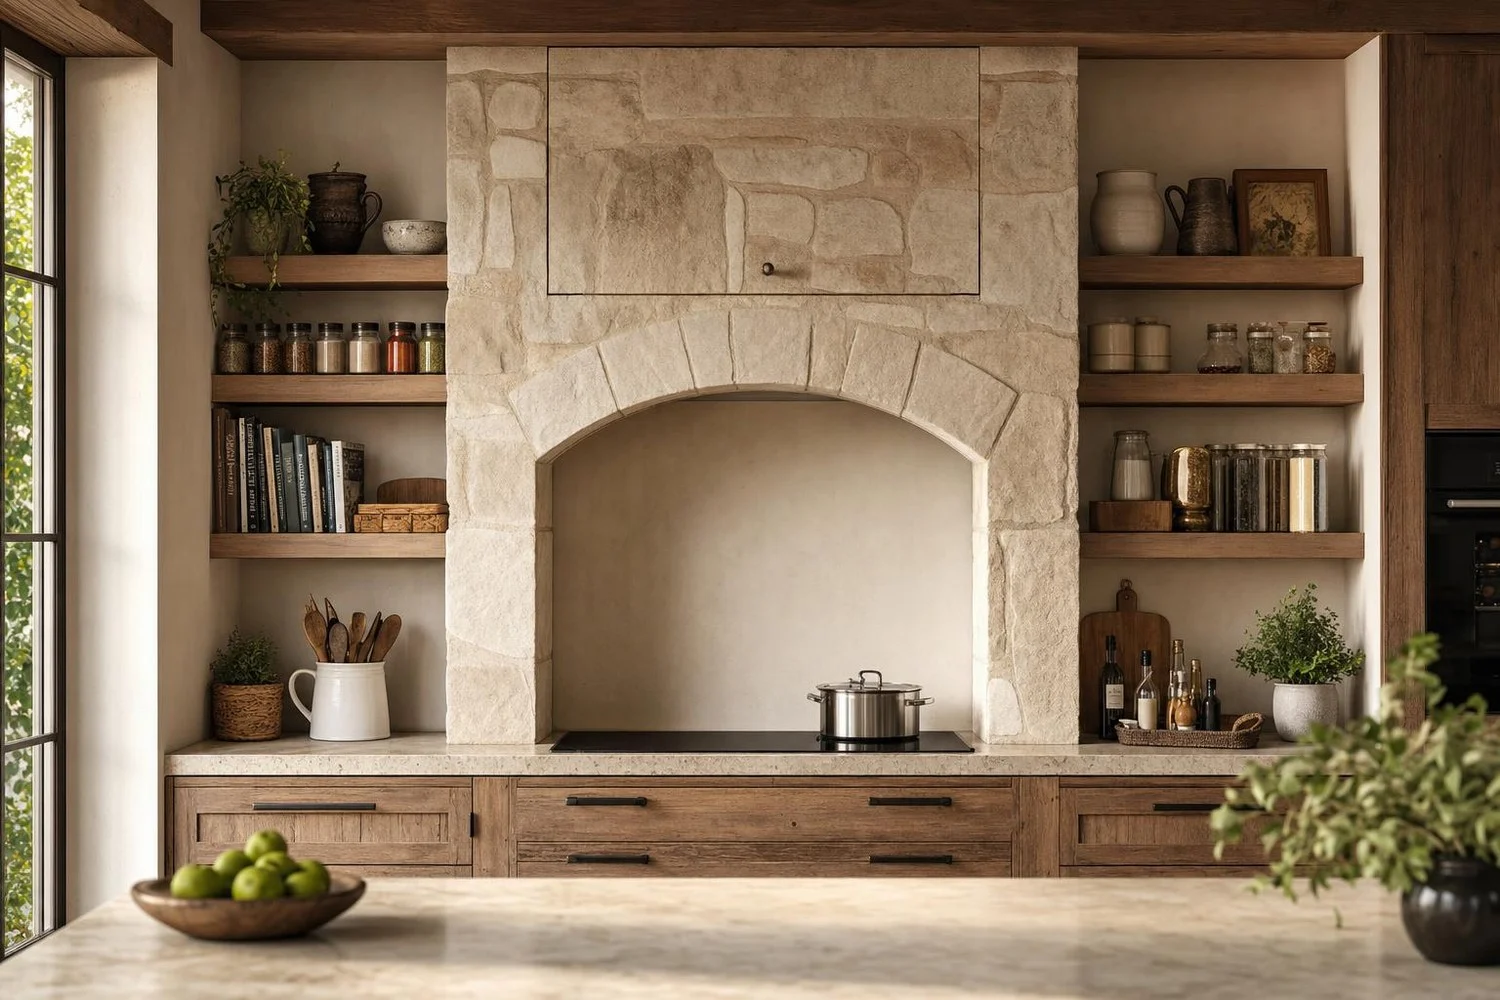
In many kitchens, the traditional kitchen hood still resembles a bulky metal block perched above the burners. It does its job, but it takes up an entire stretch of wall and offers not a single inch of storage. When you dream of a warm, country-house vibe, that technical cube totally breaks the mood.
For some time now, DIY enthusiasts have shared an alternative approach: keep the hood for ventilation, but dress it up like in antique kitchens, beneath a stone arch with integrated shelves for spices or recipe books. All of it rests on a old‑fashioned DIY based on a simple wooden framework, capable of transforming the room’s ambience.
Dress up your kitchen hood: why this old-fashioned bricolage changes everything
The concept starts from a simple idea: the area above the hob is ideal for small storage, yet it is monopolized by the hood’s body. By creating a deep niche framed by a stone arch, you camouflage the appliance while establishing open cubbies on each side, directly within reach as you cook.
An article from 2026 devoted to kitchen trends notes that natural stone around the hood has become a hallmark detail, often staged by decorator Christina Haack. The arch immediately imparts an old, almost rustic character, without altering the motor or filters of the existing hood. Only the cladding changes, turning into decoration and storage, with a visual impact similar to a family‑home kitchen.
Before building the stone arch: check the hood and the structure
Before pulling out the saw, you need to ensure the hood remains effective. The kitchen retailer Ixina reminds that you should examine the air flow in cubic meters per hour, the number of speeds, the grease filters, the type of extraction—whether vented outside or recirculated—the noise level—generally between 38 and over 70 decibels—and the energy class, so you do not compromise its performance.
The forthcoming hood cladding must never obstruct the air intakes nor reduce the minimum recommended height between the hob and the hood, typically between 61 and 91 centimeters depending on the manufacturers. Another precaution: stone is heavy. The wooden frame surrounding it must therefore be securely anchored into the wall studs with wood screws, and reinforced by vertical supports about every 61 centimeters, so as to bear both the facing and the shelves loaded with items.
Step by Step: DIY hood cladding with a stone arch and storage
In practice, many begin by removing the hood, building the frame, and then reinstalling it into its niche. They first construct rectangular wooden boxes on the sides, top, and bottom, matching the insert’s dimensions. Between these uprights, they plan open shelves for spice jars, then screw a cement board across the entire façade to receive the upcoming facing.
To craft the arch shape, they add at each corner a straight wooden piece on one side and a curved piece on the other, then cover the whole with a stone or tile facing. The mortar should resemble the texture of soft peanut butter, applied to the panel and then to the back of each stone, laid from the bottom up with cross joints. Once the joints are set, it remains to add a wooden frame or a small swinging door if one wishes to conceal a storage behind the façade, turning this technical corner into a real decorative and practical asset.
